

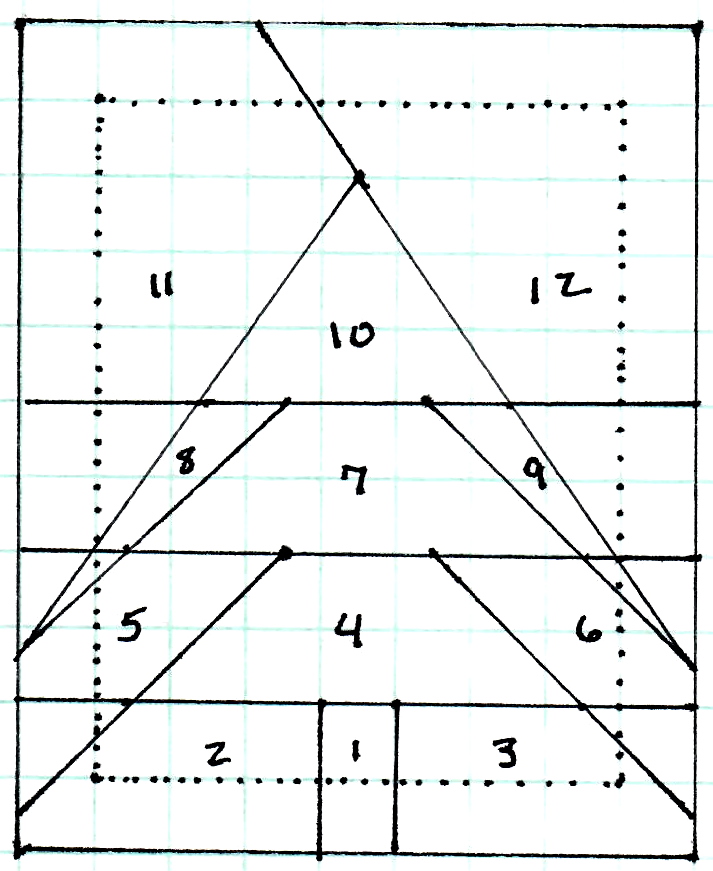
 The is a foundation pieced pattern. This is not a tutorial on paper foundation piecing but I will be including a few tips and tricks I found along the way.
This pattern is 1 ¾” by 2 ¼”. You can of course enlarge or reduce the size of the picture to any size you want.
If you have a problem getting this to print the correct size, I have a .pdf version you can use. Click Here
Materials:
A small scrap of brown fabric for the trunk
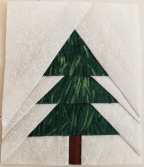
3” X 4” piece of green fabric for the tree
5” X 5” piece of background fabric
2 ¼ ” X 2 ¾ ” piece of fabric for the back
2 ¼ ” X 2 ¾ ” piece of batting.
Assorted beads for decoration.
 Sew this as you would any foundation paper pieced block. (You can also trace the image onto a thin piece of muslin and foundation piece it that way.)
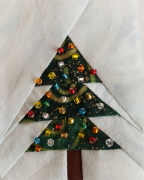
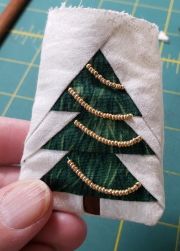
If you like, you can add any beads or embellishments that you want now or wait until after the ornament is completed.
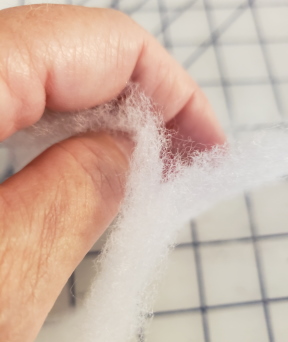 Since this is a very small quilt you will want to use very thin batting. If you already have thin batting, then use it. If your batting is a little higher loft, you can split the thickness.
Very carefully peel the batting apart until you have two pieces of batting, each half as thick.
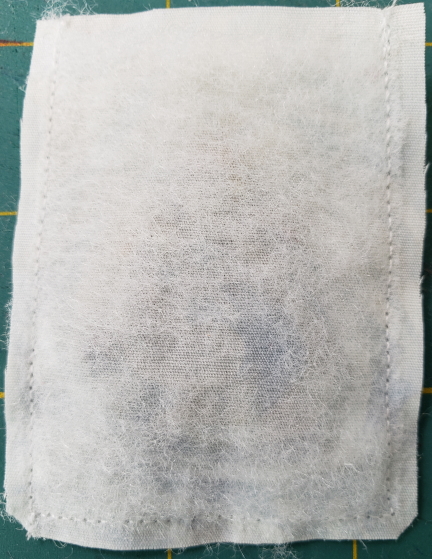 You will be finishing this pillow-case style. So make a stack. Place the backing fabric (right side up), then the finished tree piece (right side down), then top with the batting.
Stitch ¼” around 3 sides of the ornament, leaving the top open.
Clip the bottom two corners and trim the batting even with the stitching.
Turn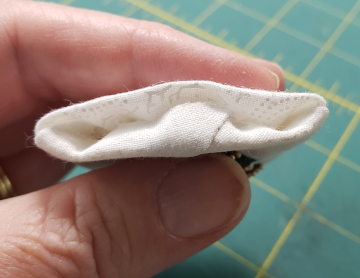 this right side out, just like you would a pillow case.
Take the top raw edges and fold them in.
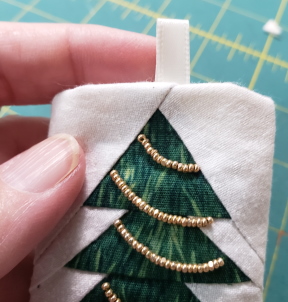

Tuck a small piece of ribbon into the opening
Stitch 1/8” around the outside of the piece.
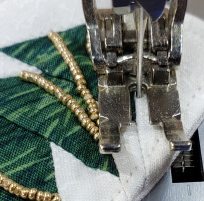
Stitch around the outside of the tree.
If you have added a lot of beads, it may be easier to use a zipper foot to get close to the edge of the tree without running over the beads as much.
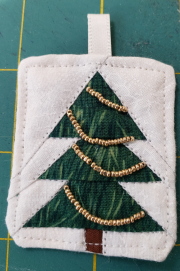
You can stop here.
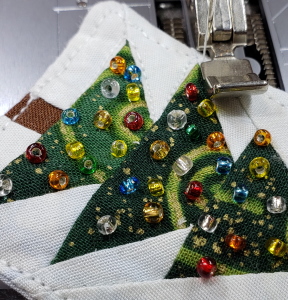
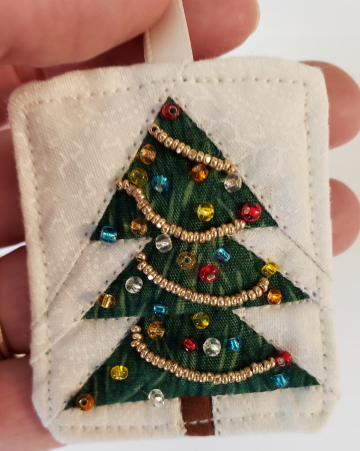
Or you can add more bead, buttons or any sort of other embellishment you can think of.
My latest article, Mini Mini, Micro Mini, and Teeny Tiny Quilts talks about how these became so popular and what people are doing with them.
