
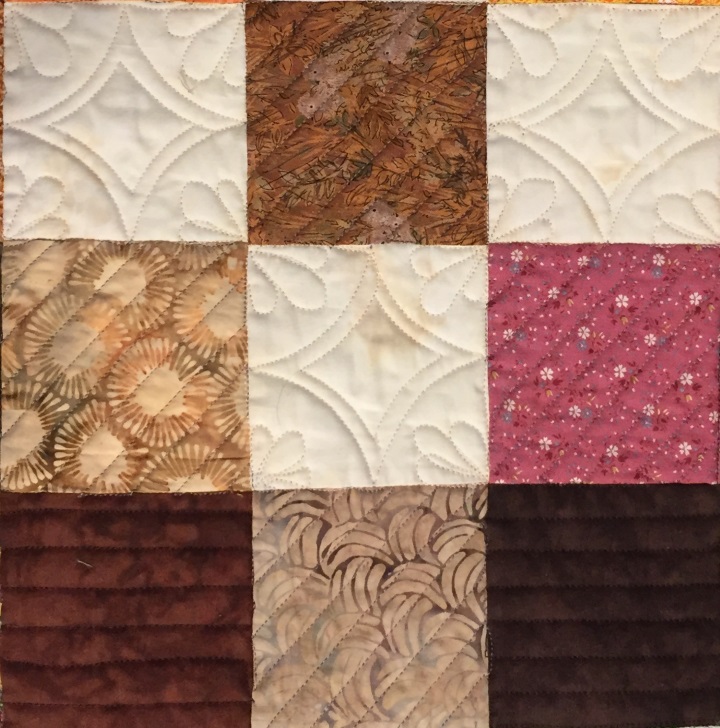
This is a detail of the quilt I finished this month’s article “Using Contrast to Add Depth to Your Scrap Quilt”. I wanted to share my experience in free motion quilting the project.
I saw Lisa Calle speak at the AQS show in Lancaster and it got me interested in doing more with rulers. I do make a practice piece but, I don’t have the patience to sit and spend hours and hours on it. |
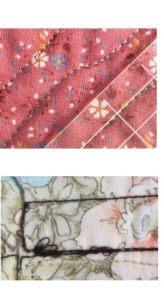
Below is the practice piece I made for this quilt.It’s pretty ugly and let me know that I needed to get a lot more experience. I decided to practice by making straight lines with the ruler on my actual quilt. I chose to make horizontal stripes on the dark fabric, diagonal stripes on the medium fabric and save the diamonds for the light fabric. You can see by the picture above, by the time I got to the diamonds, my accuracy was a lot better.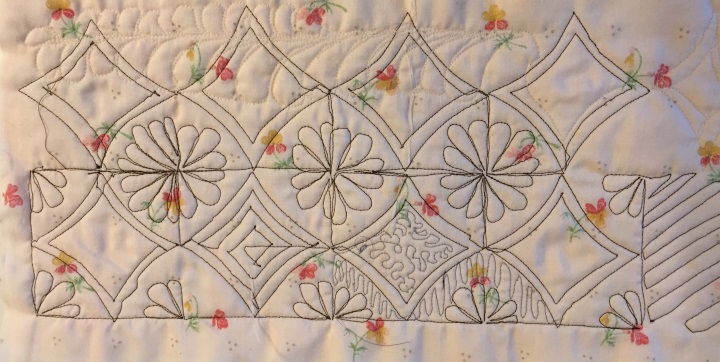 |
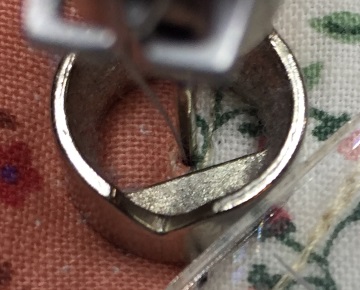 |
First a little background. I am sewing on a Bernina Q20 sit-down long arm, with a Ruler foot. Like most ruler feet it is ¼” tall and ¼” from the outside of the foot to the needle. The rulers I used are Sew Steady from their Quilting Template Starter set. The horizontal lines on the blocks were fairly easy. There are lines on the ruler that are ¼” apart so that you simply line up the seam, or previous quilt line with the appropriate line on the ruler and off you go. I made my lines ½” apart so I used the first etched line as my guide. |
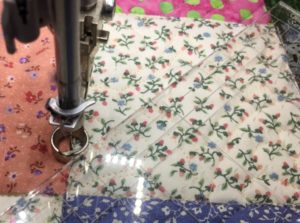 |
The diagonal lines were a little more difficult because you don’t have a straight seam line to start off. I found out that a little error in the first couple of lines and the whole thing gets out of whack. Then I figured out that I could use the corners of the adjacent block to get the correct angle. If you look closely the first etched line on the ruler goes through the bottom left and the top right corners of the block with the cream background. Now that the ruler is set up for a true 45 degrees, I could sew the lines on the peach colored block. |
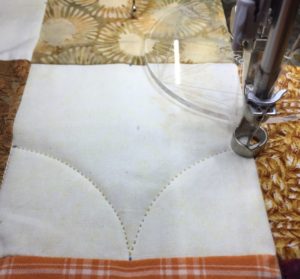 |
For the diamonds, I first marked the midway point on each side of the block with a Frixion pen (I have never had any problem getting it to disappear from very light fabric). I then used the 4” arch ruler to make the curves. I made the second line 1/4” from the first line. |
 |
Finally, I added three loops to each of the corners. I didn’t use any rulers for this. They aren’t perfect, but this is for personal use, so who cares. |
I learned 3 things while quilting all these straight lines.
|
 |
t took me about 20 hours to complete the entire quilt. And, after 20 hours of practice, my skill was greatly improved. My advice would be to not let your skill level prevent you from trying a technique on one of your quilts. The only way to get good at something is to do it over and over. The ruler work on this quilt is not perfect but my next one will be a little better and and the one after that will be better still.
Please, be bold and have fun!
Brita
